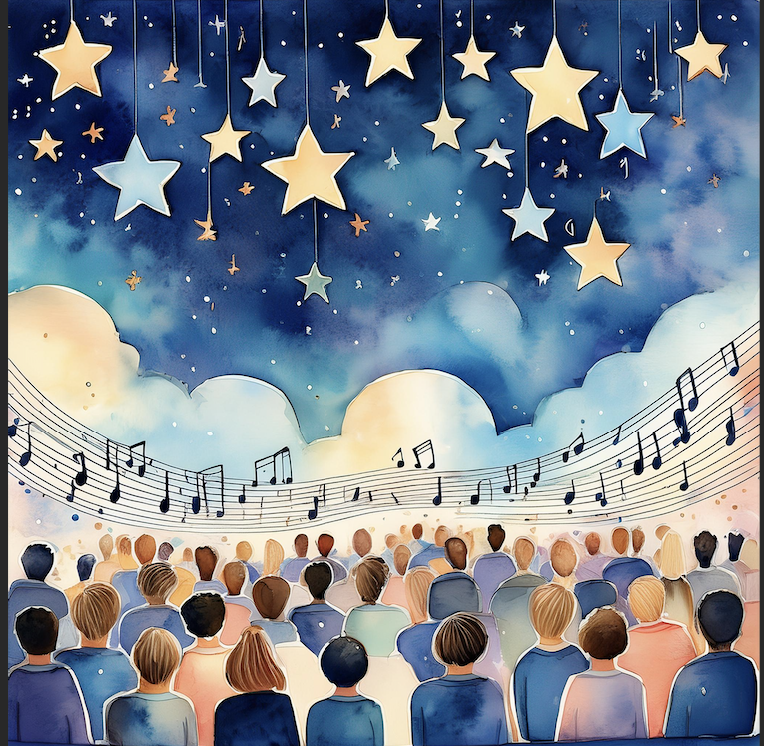
“Twinkle, twinkle, little star, How I wonder what you are! Up above the world so high, Like a diamond in the sky.”
Where I grew up, elementary school was grades 1 through 6 and when you graduated from 6th grade, you were promoted to Junior High school. For the first time in your educational career, you were introduced to the responsibility of managing your class schedules, electives, and hallway lockers. Do you recall those days? At thirteen years of age, uncoordinated, unpopular, timid, and slightly attention challenged, it was often a recipe for disaster for me. But I somehow managed. I even signed up for my electives. I picked journalism because they got to use a computer, but beyond that, I had no idea what to pick. I rolled the dice and signed up for band.
I decided to try the trumpet as my instrument. As with every member, we were given special attention by the instructor. We began practicing on day one and it was a sonic disaster. Squawks, buzzes, squeaks, and raspy rattles were heard across the auditorium. I questioned my decision more than once but kept practicing along with my peers. With our instructors help, we finally began to learn proper posture, embouchure, breathing and finger placement. Like some sort of miracle, after a while, real notes started to appear. We were no way close to competing with Louis Armstrong, but we could really blast “Mary Had a Little Lamb” and “Twinkle, Twinkle, Little Star” like nobody’s business.
I recall how we all thought we had move up into the major leagues when we hit almost every note and occasionally even had the timing right. Some notes were extra special. They require a bit more skill to hit so when you finally did, you liked to hold it a bit longer, perhaps too long. With a help of a metronome, we eventually moved past the “finally got it so hold it” tendency. The trumpet concerto finally had those stars twinkling.
The band teacher assembled everyone together. We had been practicing and performing separately but now it was time to play together. Our trumpet section joined the flutes, clarinets, trombones, saxophones, and percussion. The entire band came together and was ready to perform.
Have you ever been in a car accident? There is a weird feeling where all control is pulled away from you and the world boils in chaos all around you. Well, that is how it was when we first started playing together. It was awful! We were all blindly playing through the notes on the sheet music in front of us, unaware of being out of sync and out of tune with everyone else.
“Stop! Stop! Stop!” the instructor tried to wrangle the stampede. “Let’s start slow. Hold each note until I tell you to move on. Watch me!” The conductor raised his baton, and, on the downstroke, the room erupted in the “Mary” note. It started rough but as we held it, something amazing happened. We finally heard each other for the first time. It was actually quite remarkable. The instructor smiled. Seeing us each awaken to this new connection he moved on to the next stroke, “had”, then “a” and the double beat “little.” When we finally reached “go” there was a bit of awe in the room, and we were even a bit emotional. We had done it! It was no Concerto Magnifico, but it had unlocked a key lesson in life. Paying attention and listening to each other would allow us to make beautiful music together.
We all have a part to play. We carry different instruments in life. We each have unique abilities, talents, passions, and perspective. Something incredible happens when we come together, listen to each other, and focus on a common outcome. Our individual notes become a chorus, resonating, and amplifying each other into something that we could never achieve on our own. Individually, we are all amazing wonders, but together, we are magnificent, like a diamond in the sky!
Play your notes with all your heart! But listen. Connect. Feel the majesty of what we can be together. Let’s keep playing!

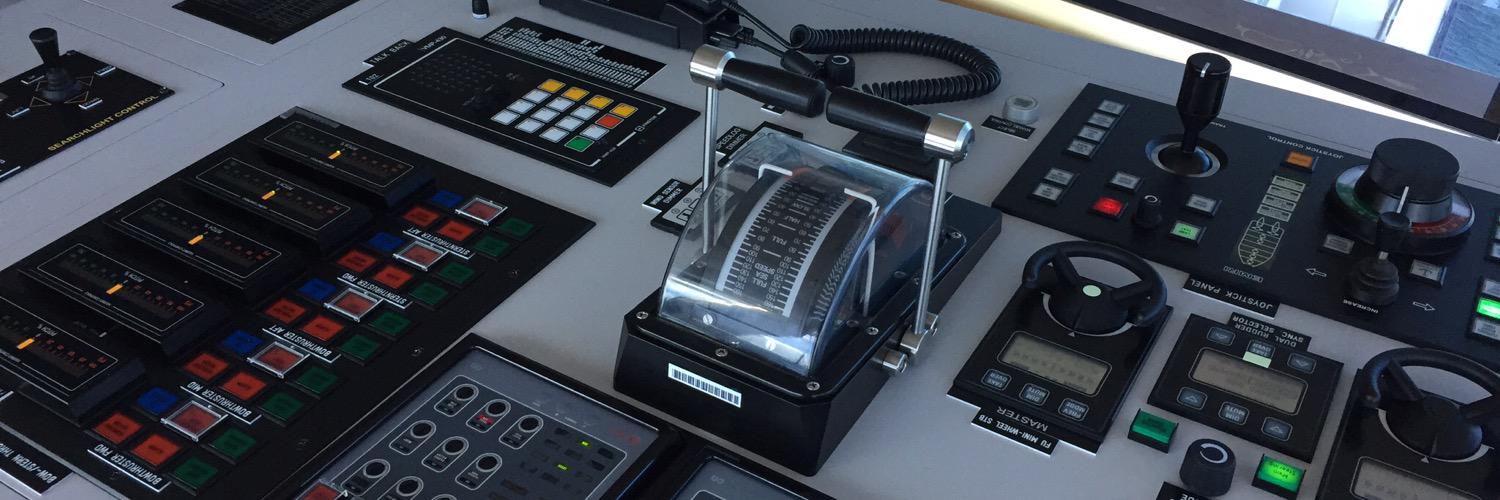
 USB Files
